


The camera captured the moment. The composition worked. Then you zoom in and see the distraction—a trash bin, a passerby, a reflection you did not notice. Learning how to remove unwanted objects from photos without rebuilding the shot from scratch saves hours on content calendars. Object Remover handles that edit in the browser with brush-based AI inpainting, and the process stays short enough to run between meetings.
The Problem With “Just Crop It”
Cropping throws away pixels you already fought for. Clone tools in desktop software work, but they demand patience on edges and lighting. A dedicated object remover marks only what fails, then fills the gap intelligently. That is the difference between losing your framing and keeping it.
What Is Object Remover?
Object Remover is a free AI photo cleanup tool that erases marked distractions inside an image. Upload a file, brush over—or describe—the unwanted person, text, logo, or clutter, and inpainting rebuilds that zone from nearby visual context. The photo remains a full frame; nothing gets cut out as a separate layer. It supports JPG, PNG, and WebP, runs without an account, and removes files from servers within two hours after editing.
Key Feature Overview
- Brush masking with adjustable coverage for precise control
- Optional prompt-based removal when describing the distraction is faster than painting
- AI inpainting that blends texture, color, and lighting from surrounding areas
- Unlimited free edits with no sign-up for typical production use
- Privacy-oriented auto-deletion of uploads and results within two hours
How to Remove Unwanted Objects: Step by Step
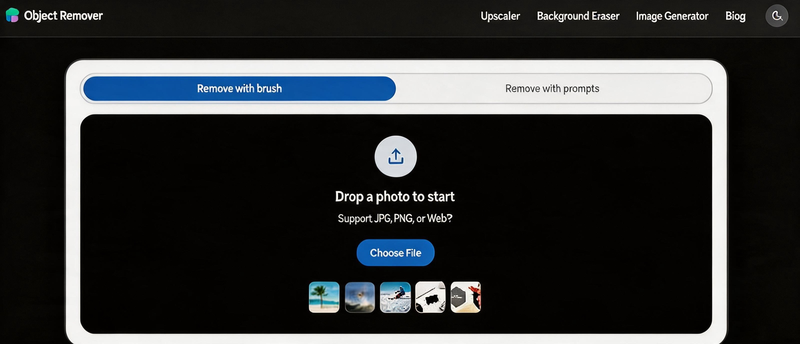
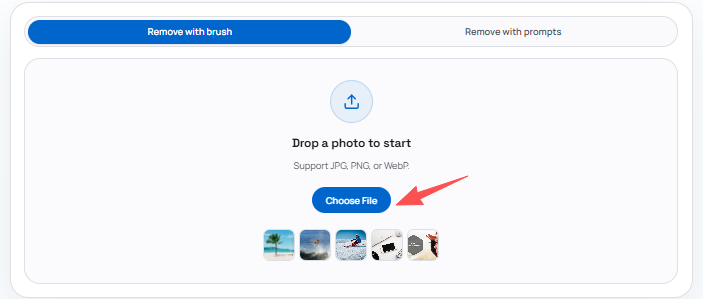
Step 1: Upload Your Photo
Open Object Remover in your browser and upload a JPG, PNG, or WebP image from your device. You can also try a sample image to explore the editor before using your own file.
Step 2: Mark What Should Disappear
Choose how you want to select the unwanted area:
Remove with brush — Paint over the person, text, logo, cable, shadow, or clutter you want to erase. Adjust brush size and cover the full object plus a small edge around it.
Remove with prompts — Describe what should be removed in text when the prompt-based workflow fits your edit.
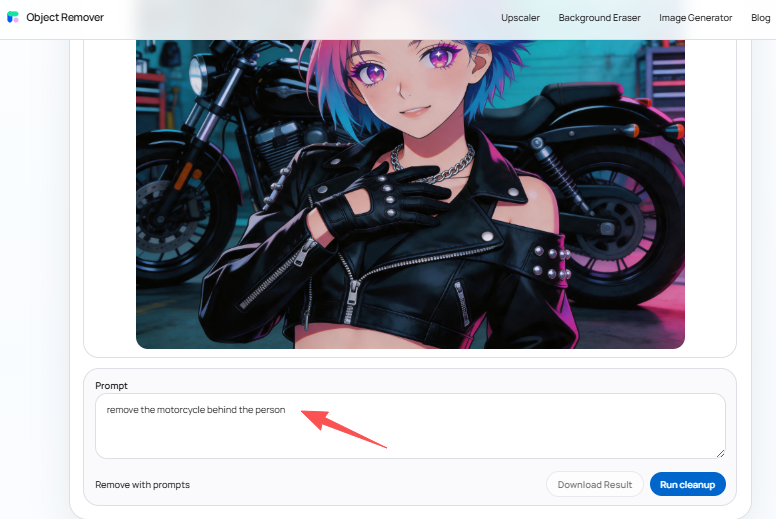
Step 3: Generate and Download
Let AI inpainting rebuild the masked area using nearby texture, color, and lighting. Preview the result, run another pass if needed, then download the cleaned image.

Three Cases That Show the Workflow
Case 1: Street photography with a parked scooter in frame. The alley perspective matters; cropping would kill the leading lines. Brush over the scooter and shadow, generate, and let the cobblestone pattern continue through the masked zone.
Case 2: Food blogging with a stray napkin. The dish is the hero; the napkin competes. A tight mask on the fabric lets the table surface inpaint back without touching the plate rim.
Case 3: Team photo with a whiteboard note behind heads. Compliance requires redacting internal names. Mask the text blocks only; faces and office context stay publishable.
Case 4: Architecture shot with a parked car at the curb. The building line matters for a design blog. Remove the vehicle and let asphalt and curb stones continue; cropping would have cut the facade cap.
Common Mistakes to Avoid
Under-masking leaves halos—include a thin border around the full object. Running one pass on complex wire fences often needs a second tighter brush. Reaching for background removal when only a logo needs to go wastes time and destroys useful context.
Who Benefits Most From This Workflow
E-commerce operators cleaning props and labels. Travel publishers keep landmarks in frame. Social teams redacting accidental details before a campaign goes live. Educators sanitizing screenshots. Each group shares one trait: the composition is already chosen; only a local flaw blocks publish.
Portrait photographers may use Object Remover to erase background distractions—an exit sign, a stray chair—without rebuilding the entire environmental portrait in Photoshop. The subject stays grounded in place; only the nuisance leaves.
FAQs
What file types can I upload? JPG, PNG, and WebP are supported for the cleanup workflow.
Do I need editing experience? No. If you can highlight an area with a brush, you can run a cleanup.
Will the edit look natural? Results are strongest on repeatable backgrounds—sky, walls, grass, pavement, simple fabric.
Can I remove multiple objects in one session? Yes. Generate after each mask, or refine with additional passes on the downloaded result re-uploaded if needed.
How is this different from erasing a background? Background tools separate the subject from everything behind them. Object Remover only deletes what you select inside the frame.
Can I edit the same image twice? Download the first result, re-upload if a second distraction appears, or mask another zone on a new pass.
Pros and Cons (Quick Look)
Pros. Free access without registration for routine edits, browser-based convenience, brush plus prompt flexibility, and short server retention for privacy-conscious teams.
Cons. Not built for transparent cutouts, batch catalog automation, or advanced color work. Complex patterns may need multiple passes—plan time accordingly.
A Note on Image Rights
Object Remover changes pixels; it does not grant permission to edit stock photos, client assets, or location-restricted work. Confirm you may alter and publish the source file before you upload—especially for commercial listings and sponsored posts.
Putting It Together
How to remove unwanted objects from photos comes down to marking the right pixels, not learning a suite. Object Remover keeps the steps visible: upload, mark, generate, download. Use it when the scene is worth keeping and the distraction is not. Save the file you almost deleted—after one cleanup pass, it often becomes the lead image for the post.